I Got a Framework Laptop
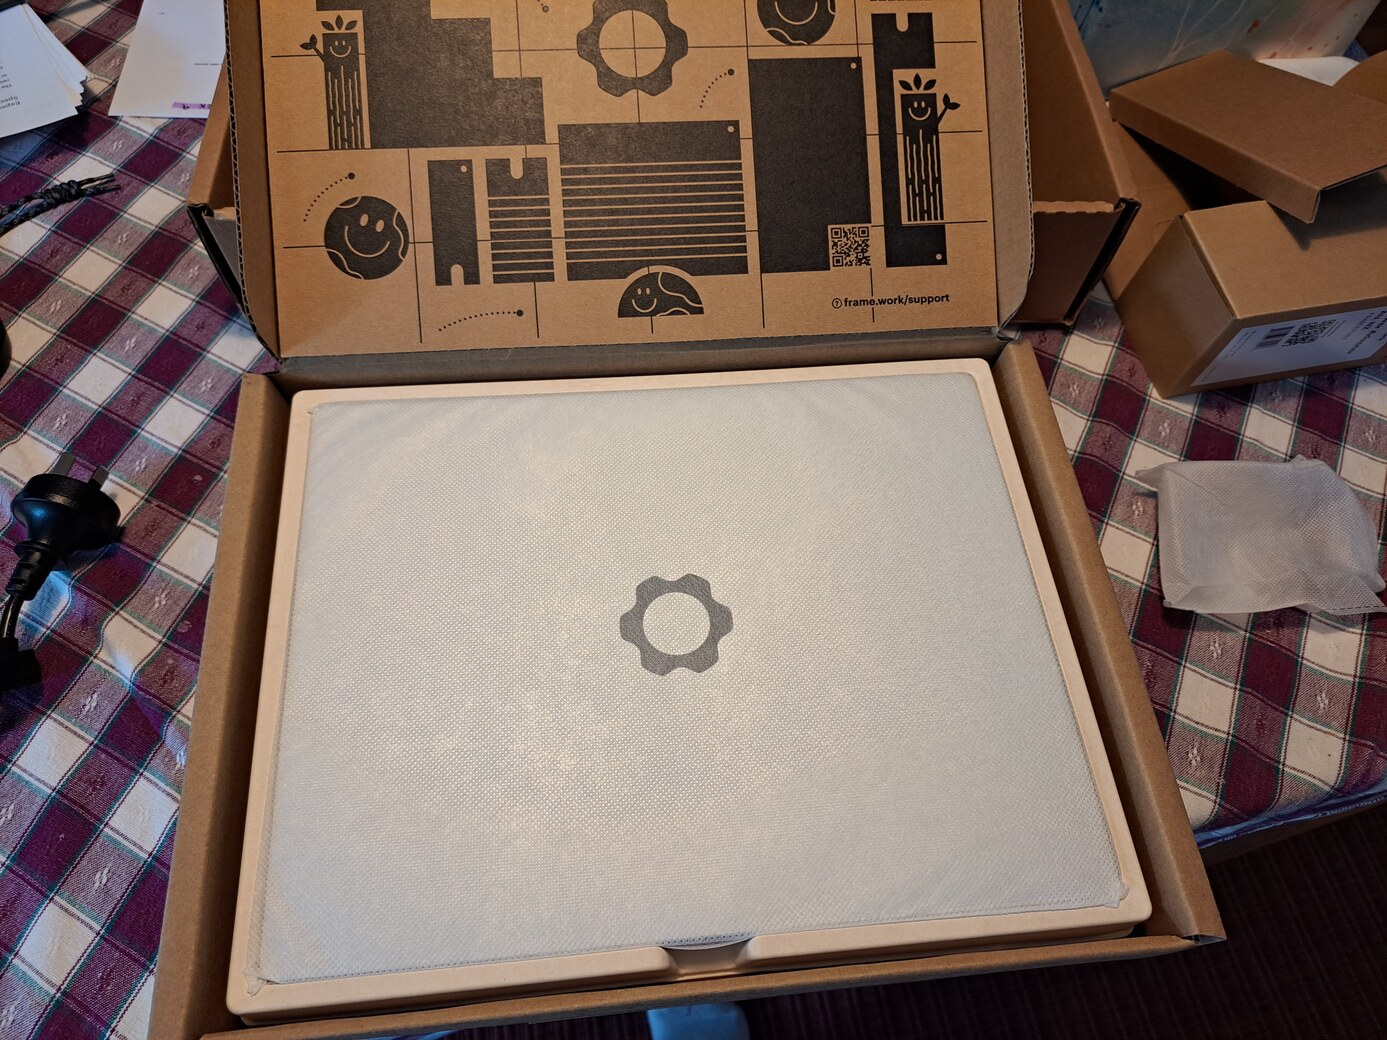
I’ve been following the Framework laptop since it was announced. A few weeks ago I finally got the email that they were taking pre-orders in Australia. I jumped right on it. Yesterday, it arrived!

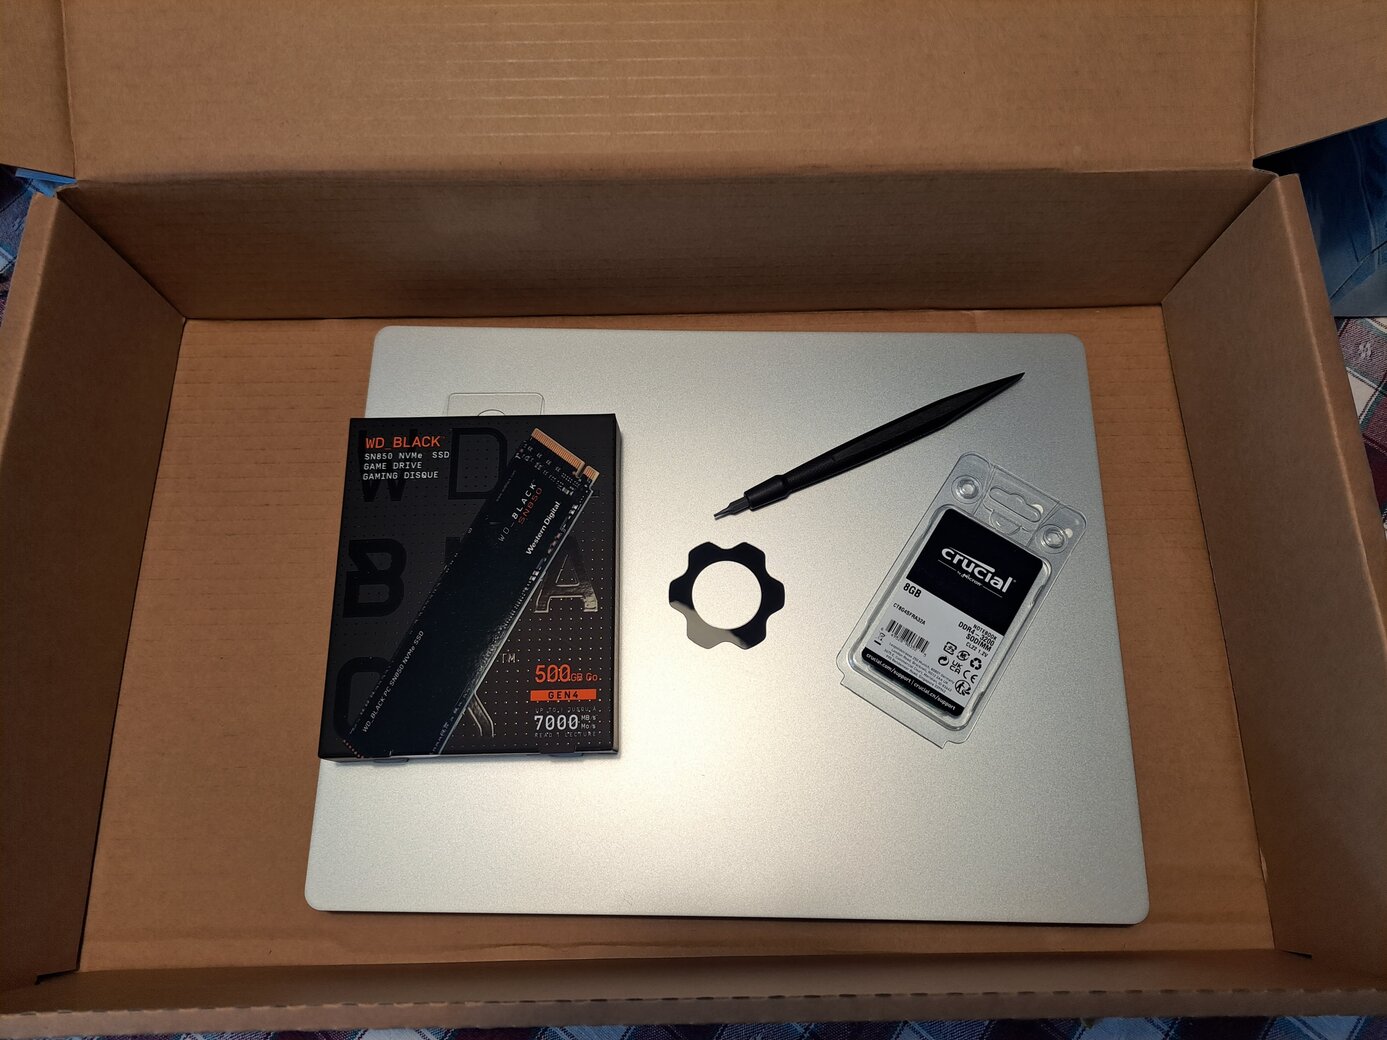
I (of course) got the DIY edition with an SSD and memory stick included separately. It arrived with a Torx screwdriver included and the laptop components in their OEM packaging.

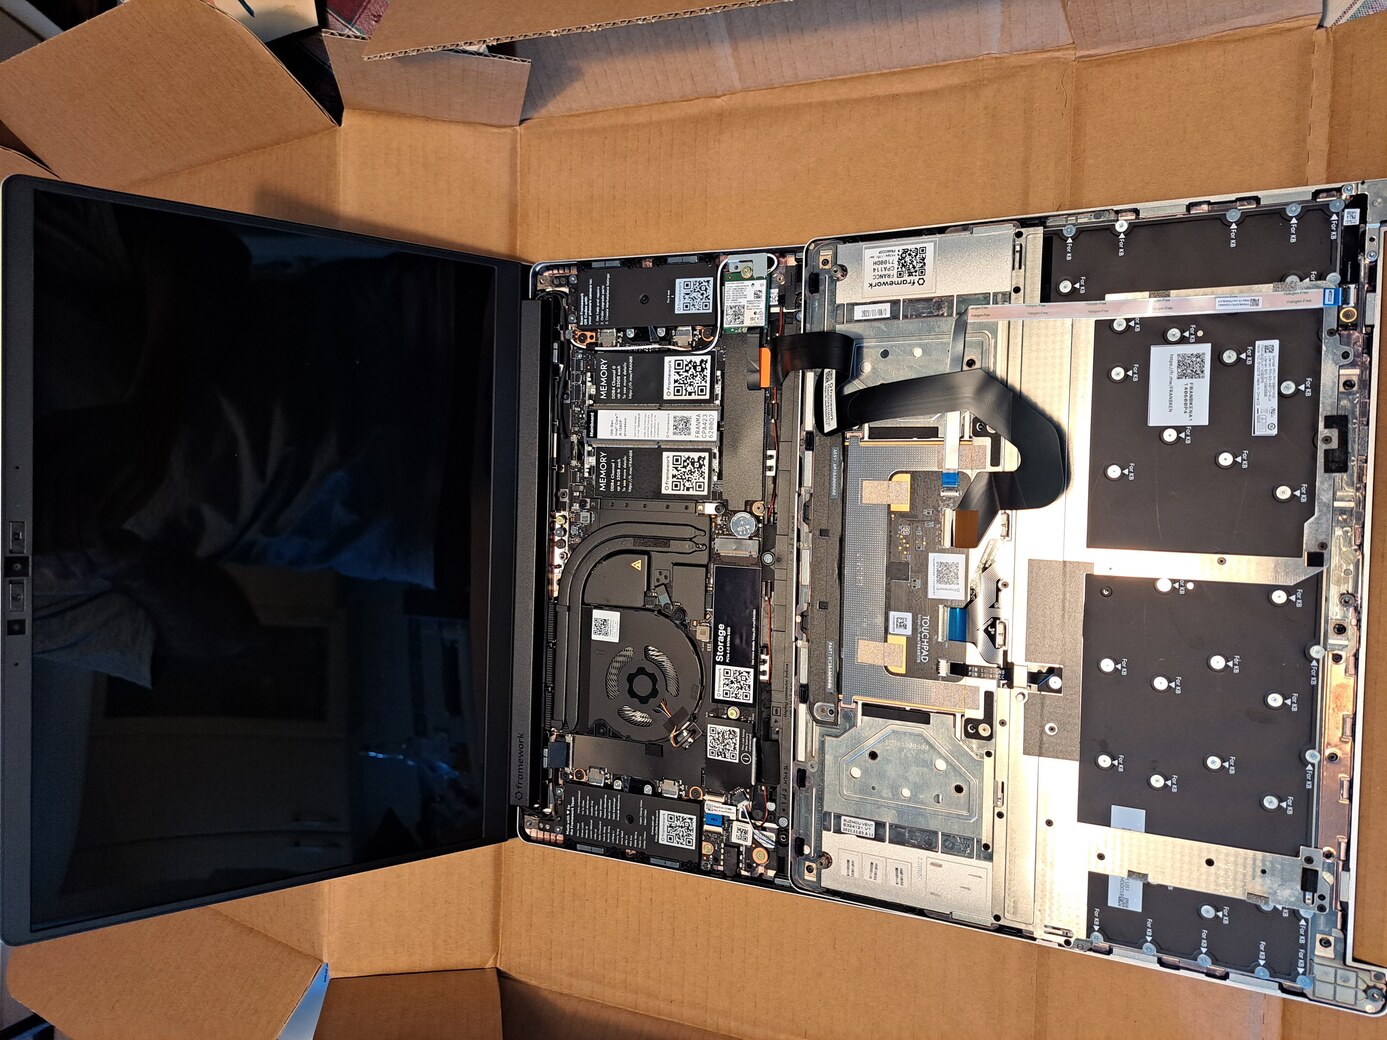
You loosen 5 screws on the bottom (they’re captive, so there’s no opportunity to lose them), turn it over, and gently pry off the keyboard panel.

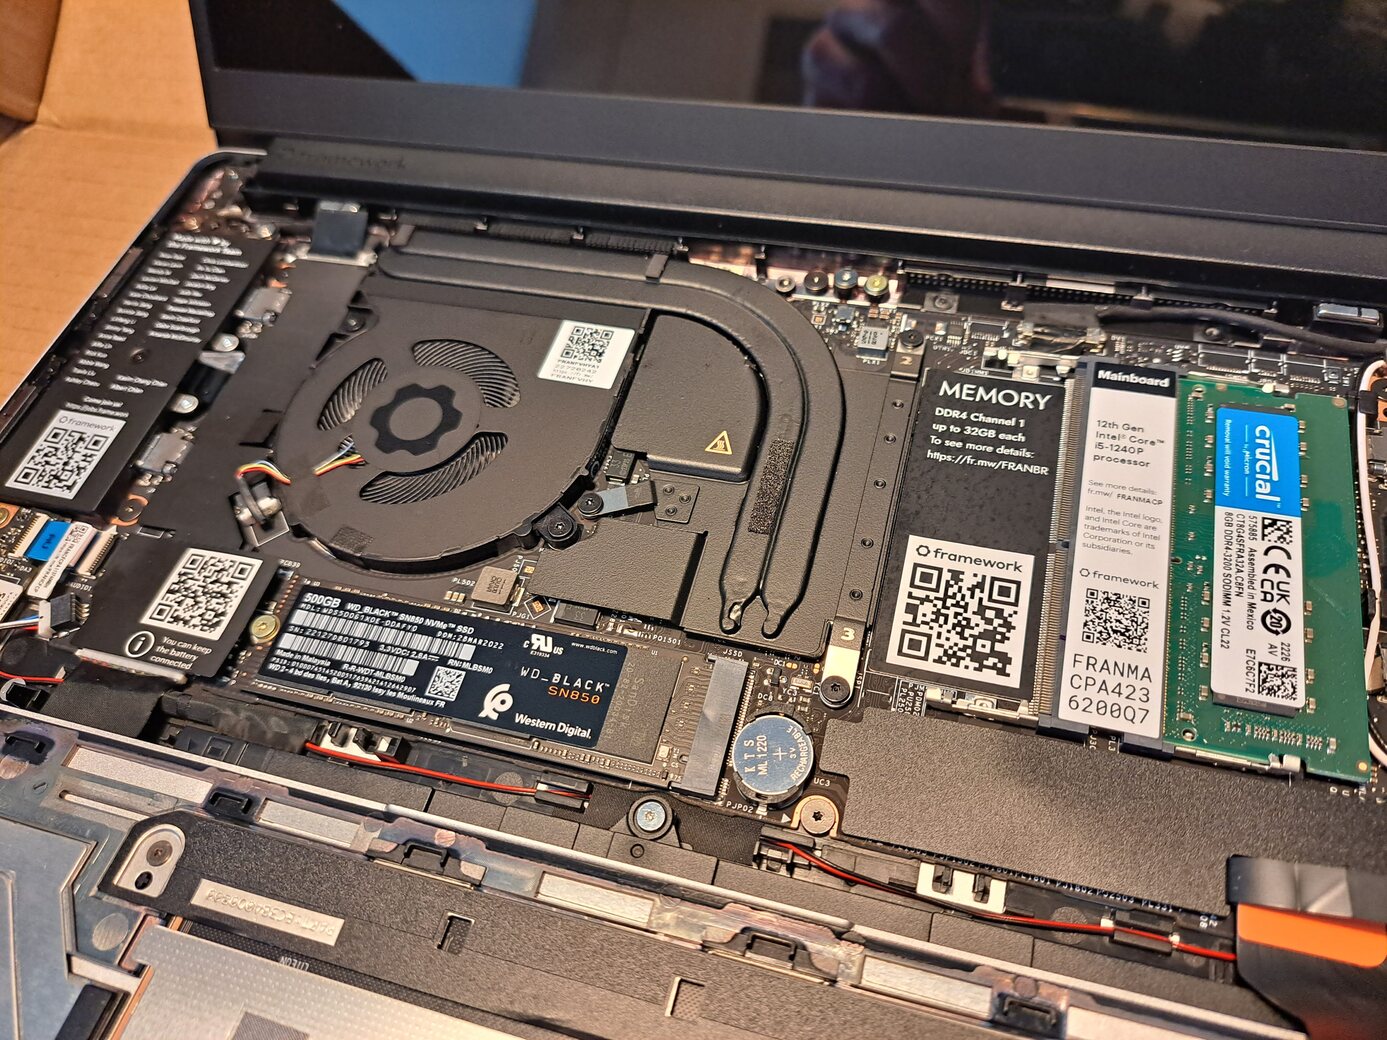
The storage and memory sticks clicked in fairly easily, just like for a PC build, but slightly smaller. I’m already thinking about a memory upgrade haha. I only bought it with 8Gb to save a bit of money.

Now installing the OS was actually a bit harder. I had a hell of a time creating a Fedora live usb drive. The Fedora Media Writer is a great little program but it doesn’t work if Windows Security file monitoring is turned on. Additionally, it also turns itself back on after a short period of being turned off. I suppose I can grudgingly agree with that as an idiot-proof security default. But it took a couple of tries to format the darn thumb drive.
Once the live usb drive booted, installing to disk was easy. I was quite impressed with the stuff that works out of the box (Zoom videoconferencing with webcam and a Bluetooth headset!) But there was the usual faffing installing all the necessary non-free software on Fedora, like codecs, video drivers and DRM media playback.
Another thing that was surprisingly difficult, was remapping the Ctrl and Caps Lock keys. I have to say that I was fondly thinking about Windows Power Toys with a bit of regret, while browsing random Github repos looking for a suitable keyboard remapper. I ended up going with keyd which I had to install with make && sudo make install just like old times.
But we’re all go now. This post was written in VSCode with the Neovim plugin, on a Framework!